How to Design a Freeform Silver Necklace in Photoshop, in 5 Easy Steps (engraving artwork)
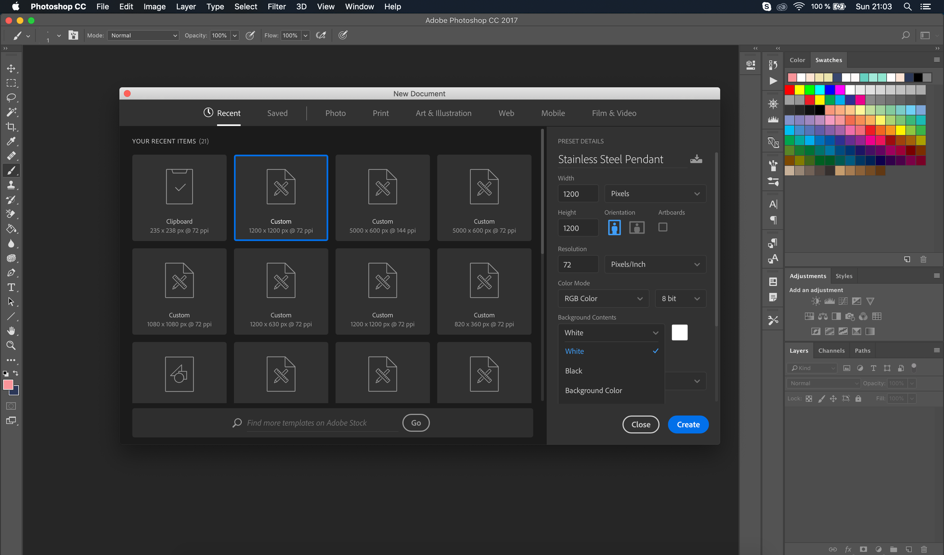
Step 1 – Create New File
Once you open PS, click on a new file and add the canvas name & dimensions. For this product, you will need a square canvas of 1200x1200px. Make sure the background colour is white and hit the create button.
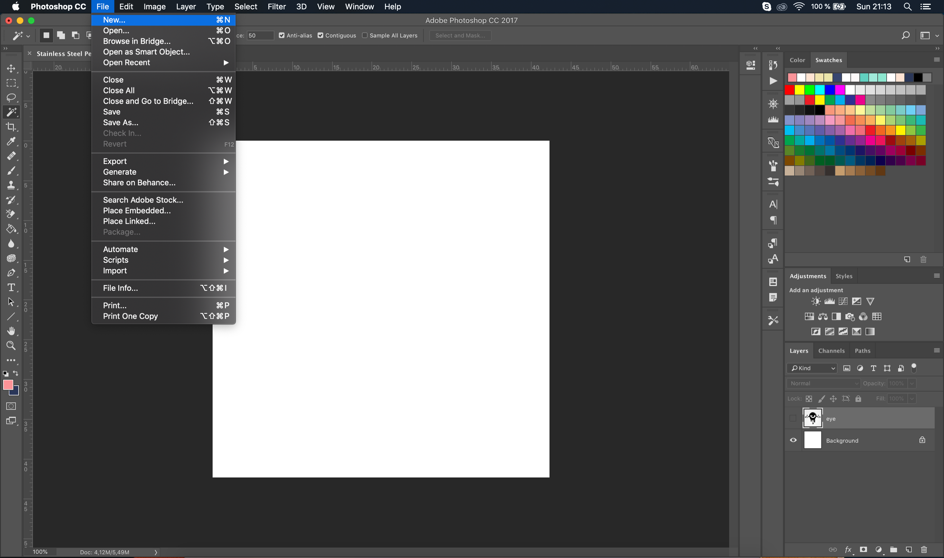
Step 2 – Make/Upload Design
Once you’ve created your canvas you can either start designing your creative (remember the engraved part needs to be black #000000) or just import an existing design you have available. For this tutorial I’ll go with a preexisting design. Hit the file tab, go to open and select the file you want to upload.
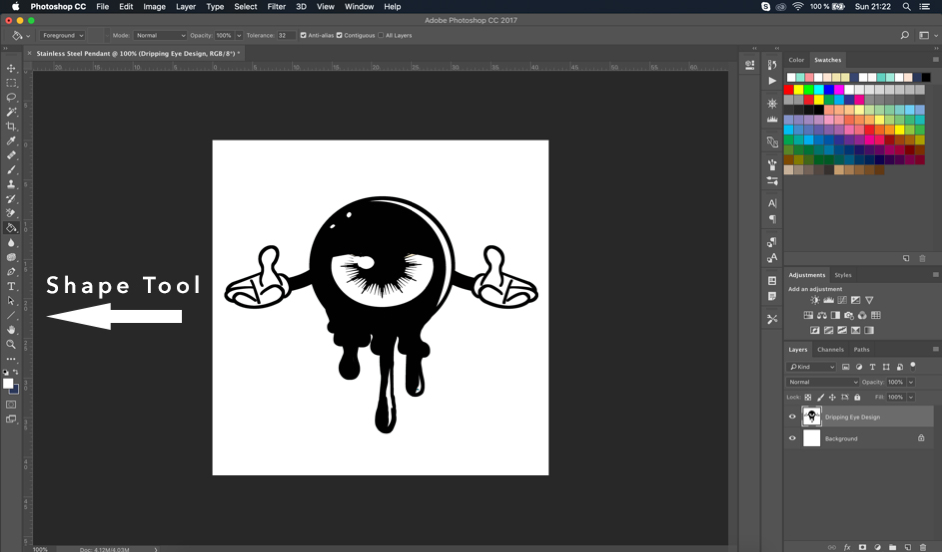
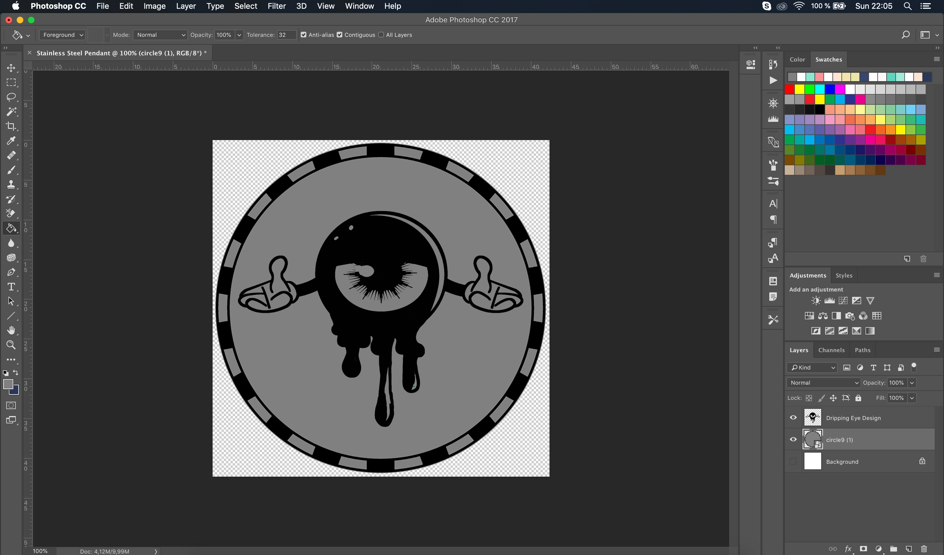
You’ll notice in the right side of your screen a new layer appeared. In order to have the proper design for uploading the part you want to be cut out needs to be white (#ffffff) or transparent and the engraved part needs to be black #000000.

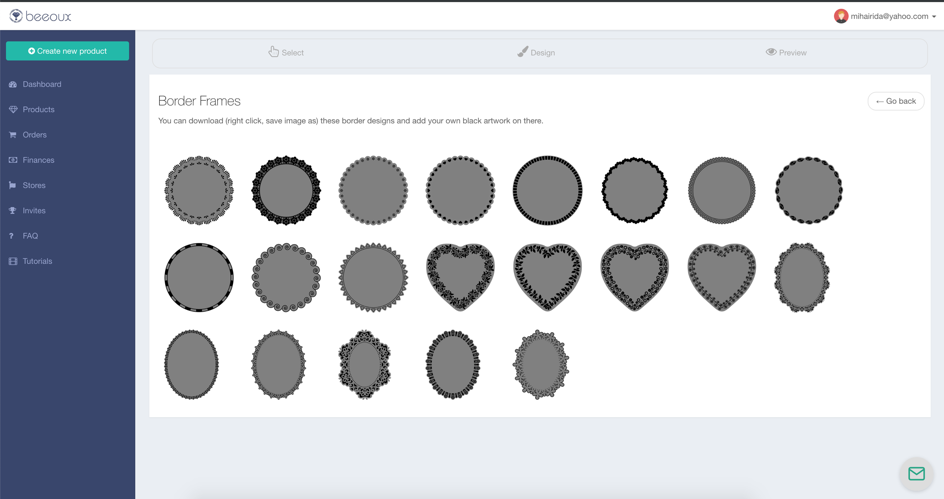
Step 4 – Creating/Uploading Base Shape
For this product, you will need a grey #808080 base shape. You can either create it in Photoshop from the predefined shape tools or upload your own. In your
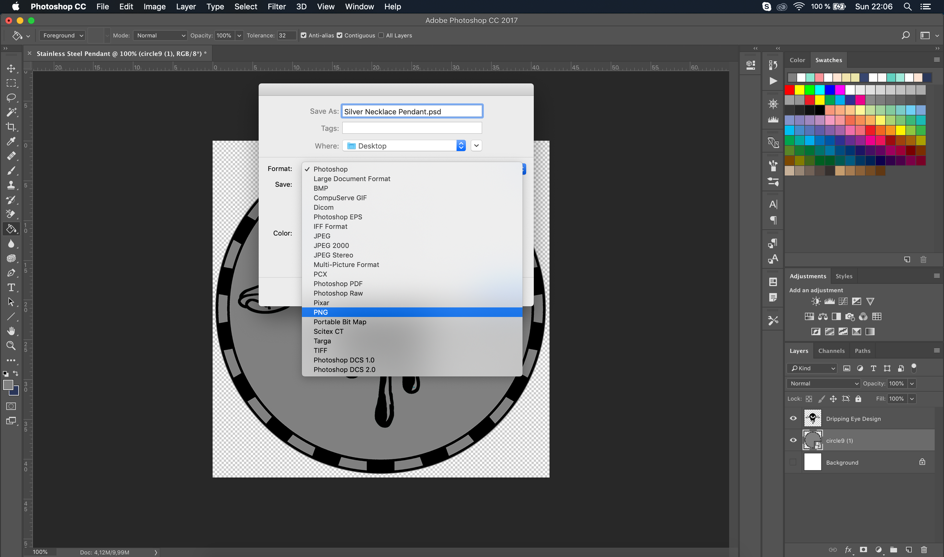
Step 5 – Save your Design
Once you are happy with your design and you have the right specifications click on the file tab on top, go to save as and select PNG. Once you have it saved you can easily upload it into your dashboard and create unique pendants.